
Online collections
monedastodas.com
All collections » Origami » Diplodocus
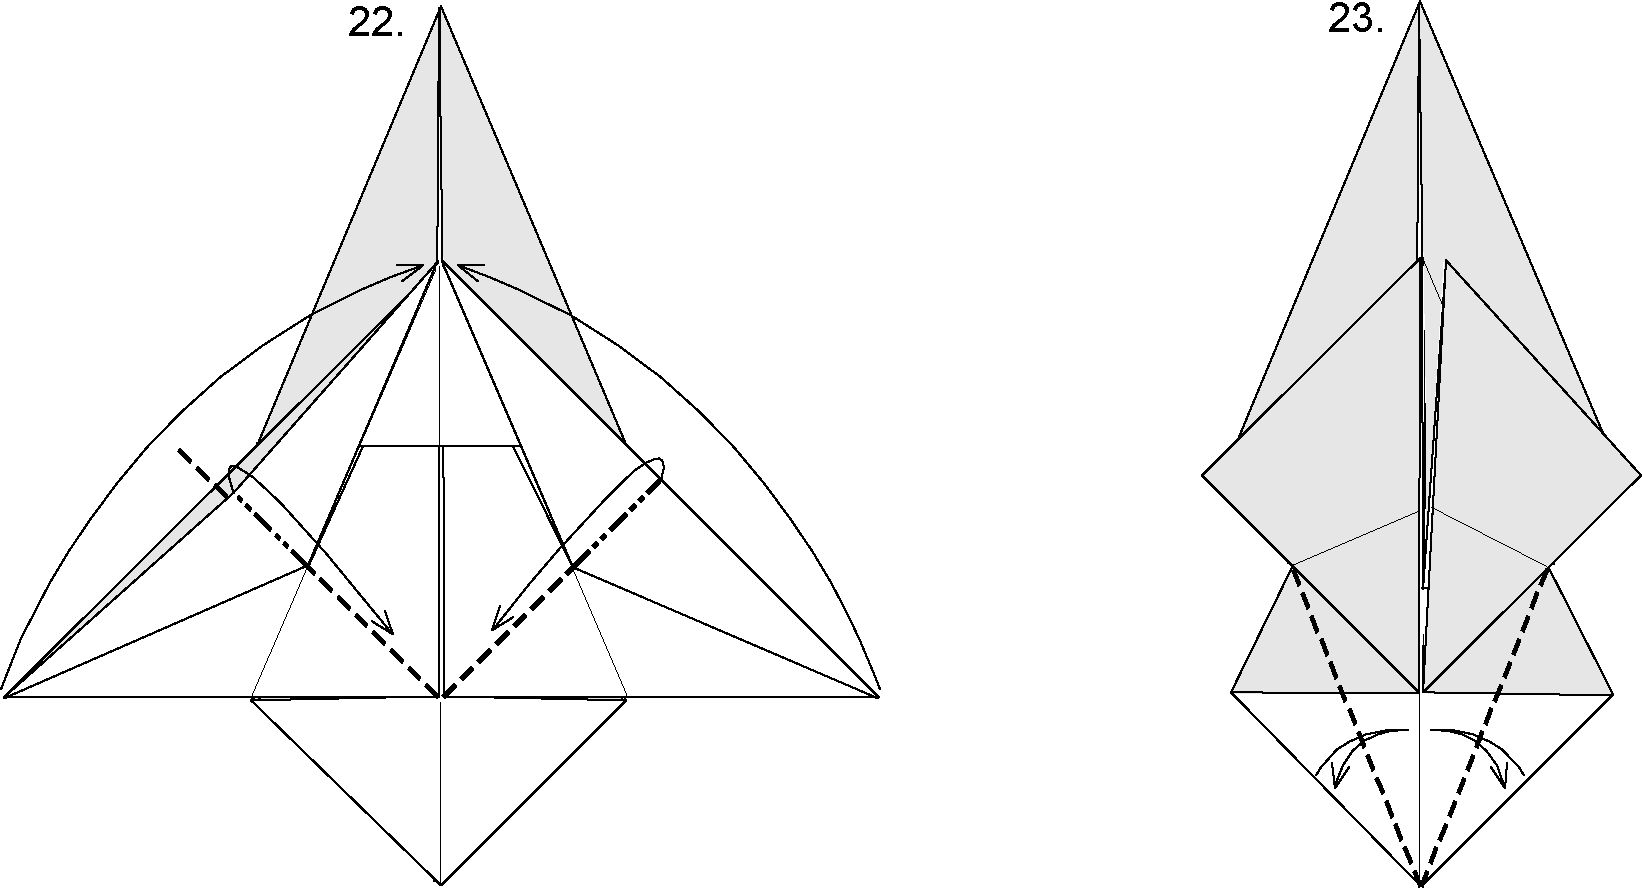
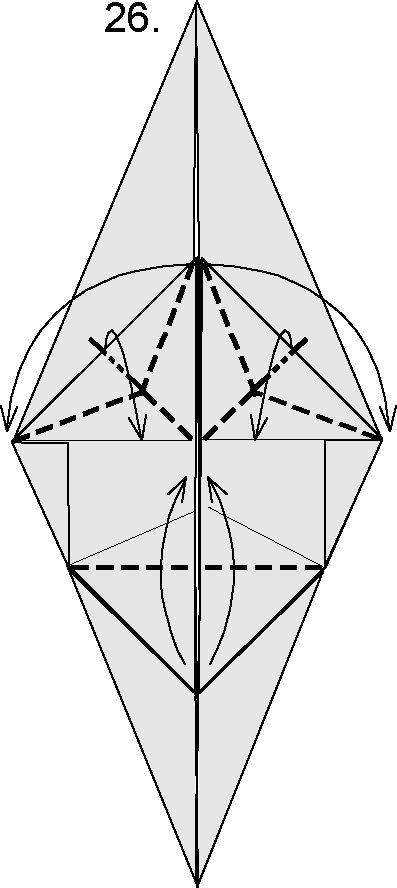
Separate and draw the diagonal edge of the first layer of the flaps on each side towards the centre, then fold the corners at the sides to meet the top corner of each triangle.
Fold as shown, crease firmly, and unfold.
24.
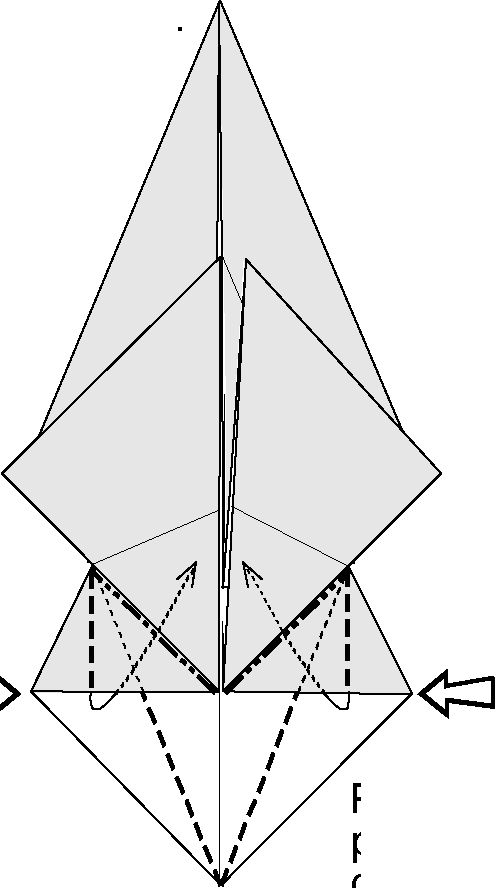
Petal fold, tucking the excess paper under the lowest corner of the triangular pieces above.
25.
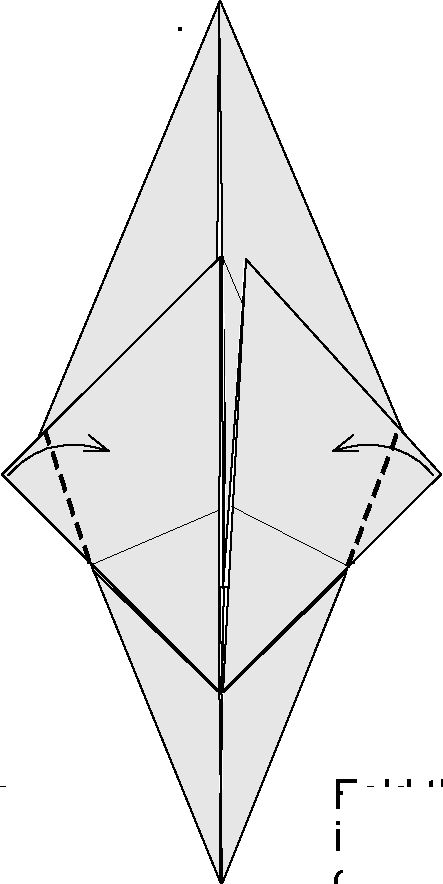
Fold the excess corners inwards, in line with the diagonal edge at the bottom.
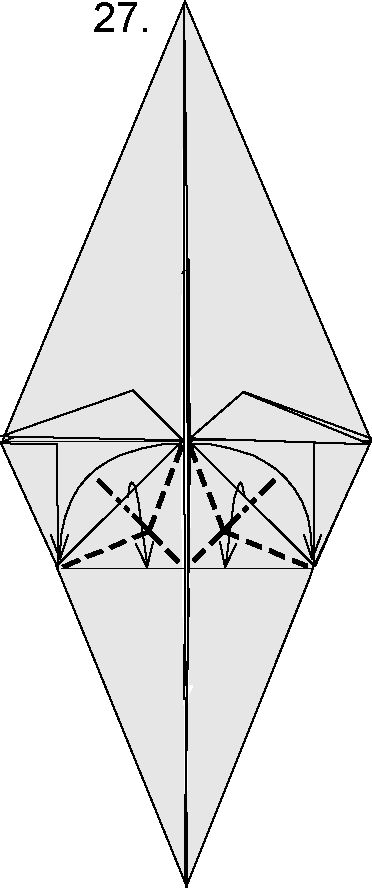
Fold up the lower triangular flaps and rabbit's ear fold the upper pieces ...
... then rabbit's ear fold the lower pieces ...
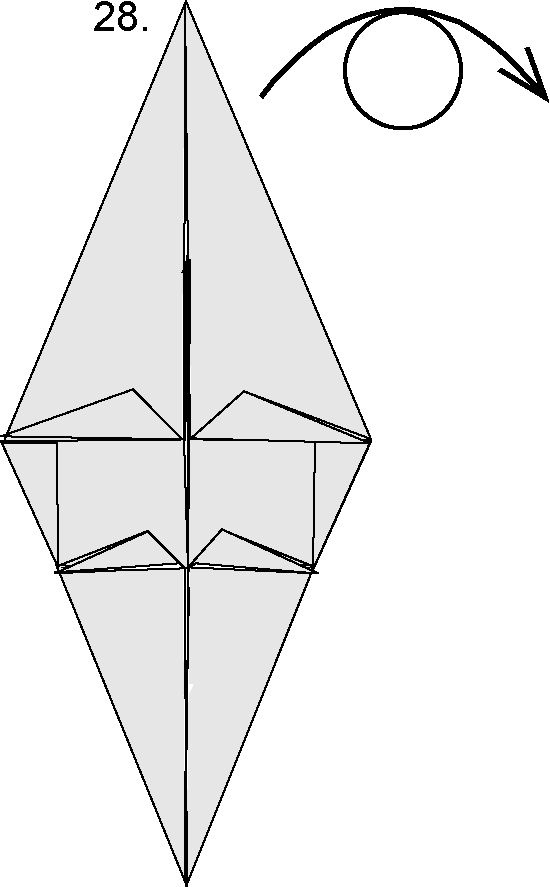
... like this. Now turn the model over.
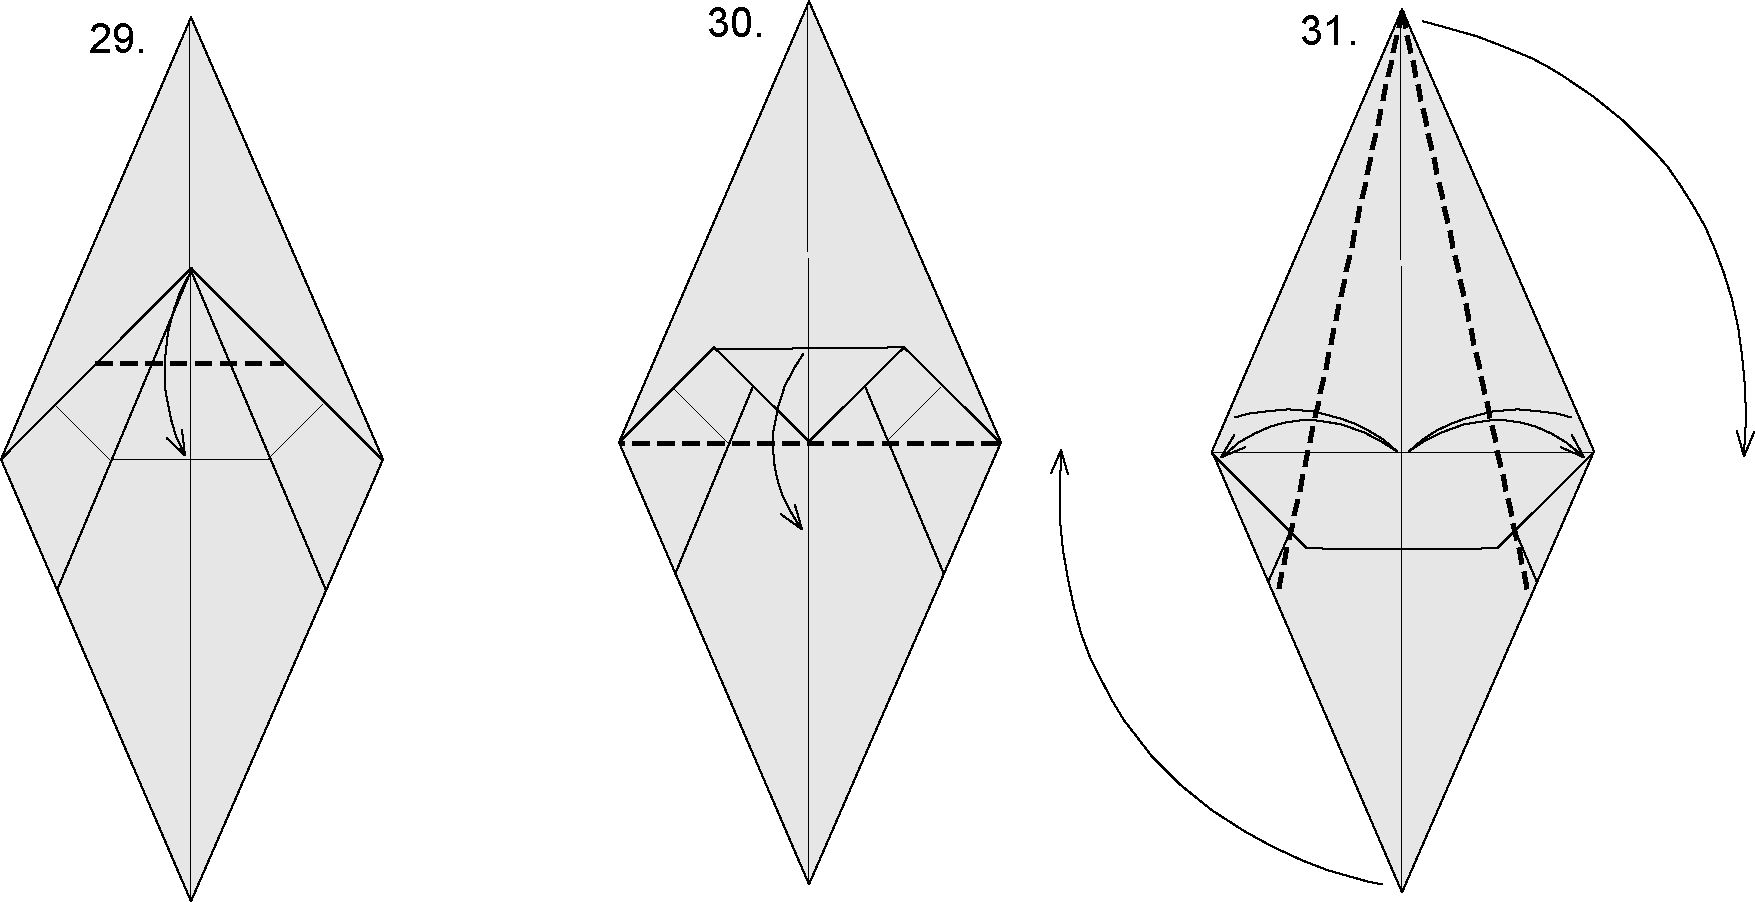
Fold the tip of the triangle to the intersecting crease lines as shown ..
... then fold this piece all the down from the horizontal mid-point of the model.
Fold the upper diagonal edges to the centre, crease firmly, and unfold, then rotate the paper clock wise through 90 degrees.

Fold and unfold on the left, as in Step 31.
Now bring the four diagonal edges to the centre as illustrated, Note the crimps in the centre.
34.

Fold the model horizontally in half
The four vertical pieces will form the legs. Fold down the two on this side and repeat at the back.
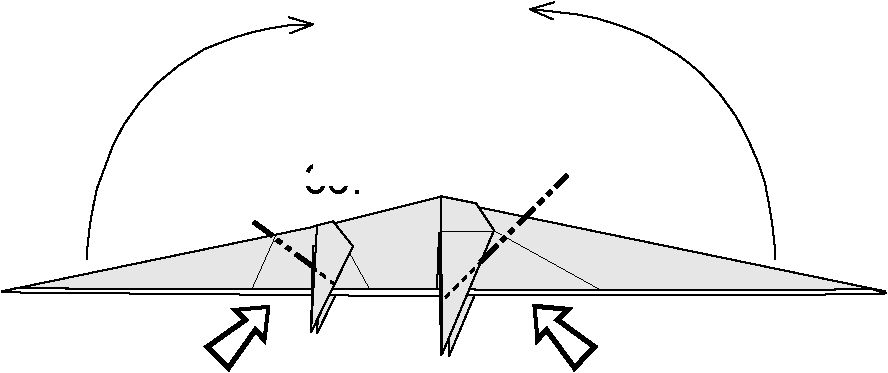
Reverse fold on the right and left.
36.
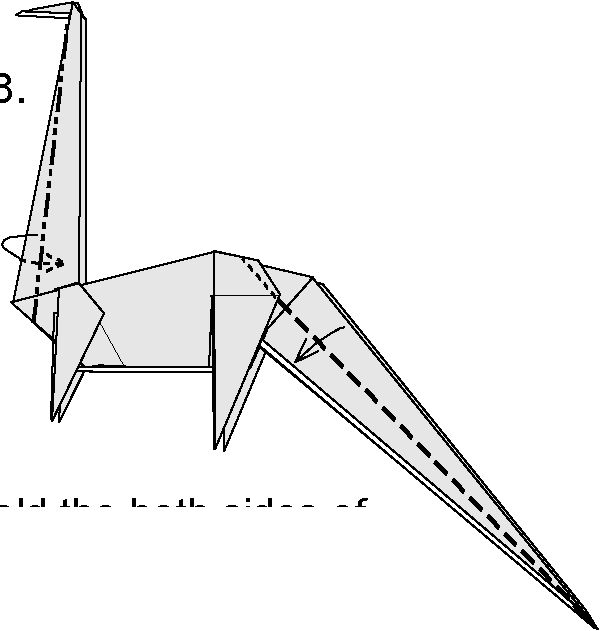
39.
Mountain fold the both sides of the neck within itself, then valley fold both sides of the tail piece as illustrated.
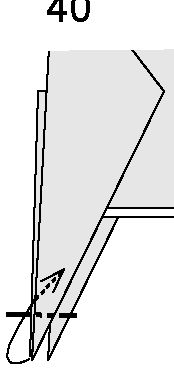
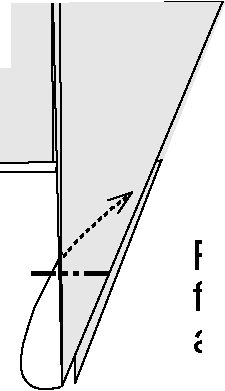
Reverse fold the tips of all four legs within themselves as illustrated.
41.
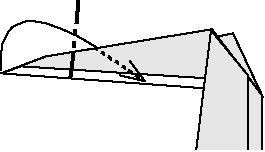
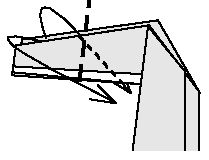
Now for the head. Inside reverse fold ...
43.
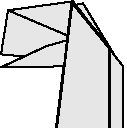
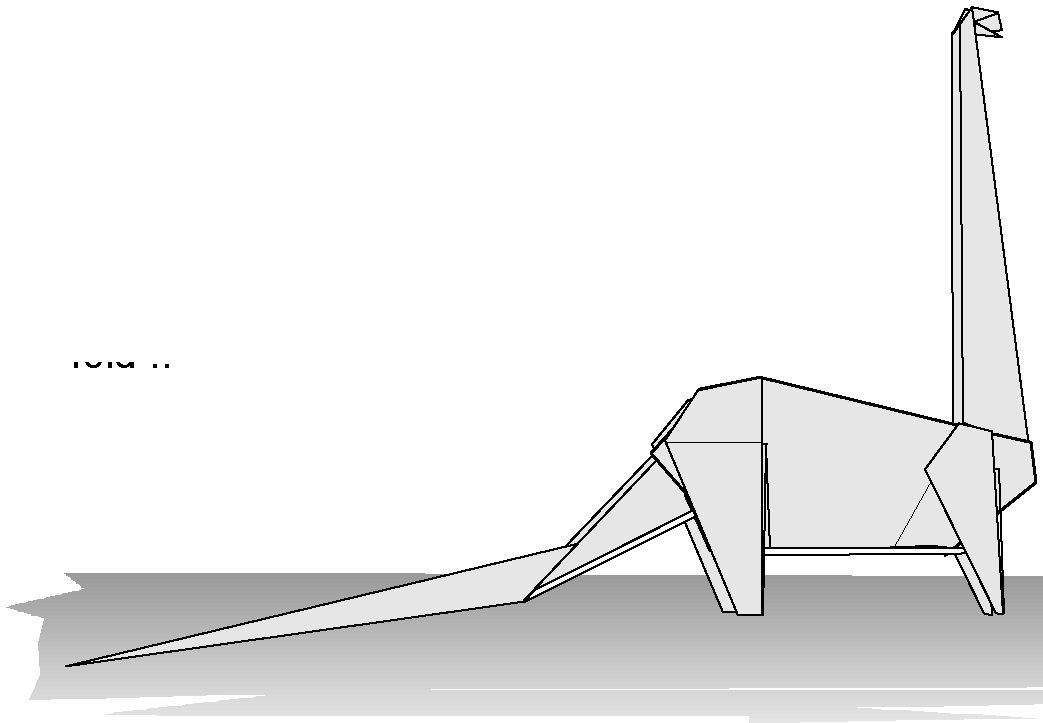
... like this, and the diploducs is done.
37.
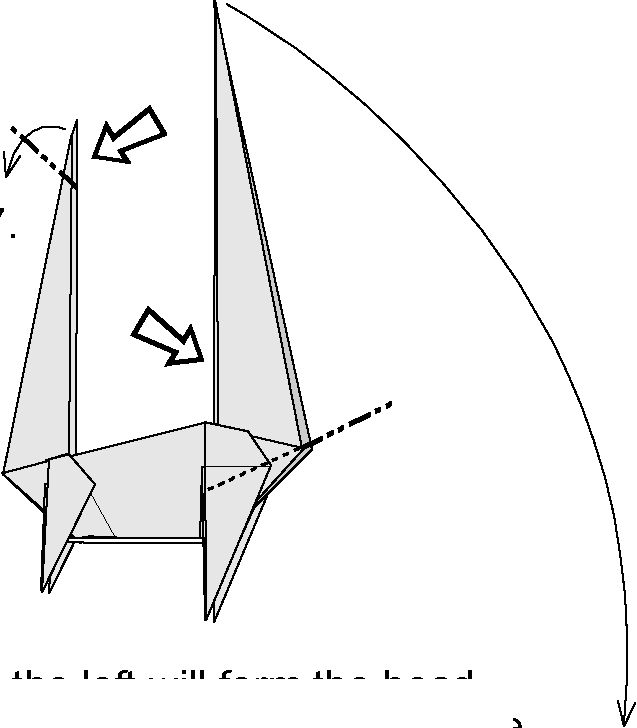
The point on the left will form the head and neck. Reverse fold slightly below the tip, then reverse fold again at the base of the tail piece on the right.
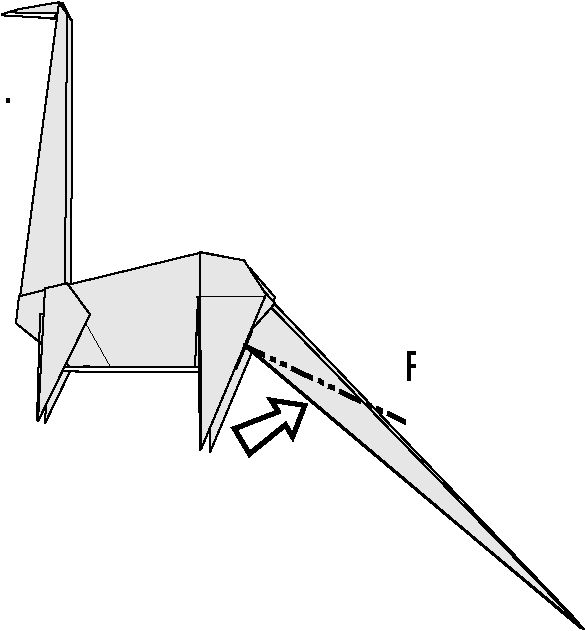
Reverse fold the tail again.
42.
... then outside reverse fold ..
Download PDF file with this instructions for printing